How to Clean Waterpik and Accessories in Less Than 5 Minutes

What Is a Waterpik?
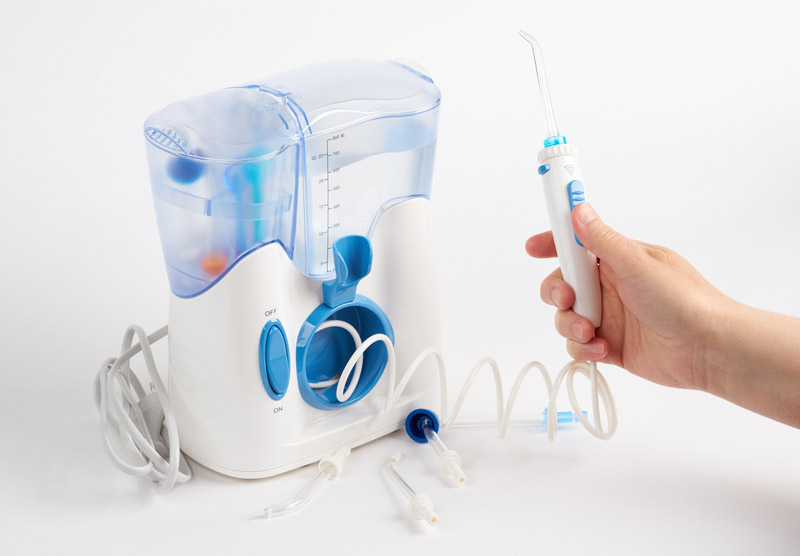
As you may have already guessed a Waterpik is a flossing tool to remove food particles, keep plague at bay and your mouth clean. It looks very much like the suction tools that dentists and surgeons use and is also referred to as an oral irrigator. Rather than hoover up the saliva, it squirts water to dislodge food debris from the teeth and is a great addition to brushing. There are usually several power settings on it so that you can choose the strength. The testimonials of the Waterpik are very high with some people stating that the device massively improved their oral health. You use it by leaning over the sink and closing your lips just enough to prevent splashing, the water will reach the teeth and gums before flowing into the sink. Aiming it at the gumline and moving it around every tooth, the Waterpik will fulfill the job of flossing without being too abrasive causing damage to the gum tissue.
How Often Should You Clean a Waterpik?
There are several ways that you can clean a Waterpik and here we have outlined a few of the quickest ways that you can do so. First of all, it’s not such a big burden in the sense that it needs cleaning every day. In fact, a quick wipe down once a week and then a thorough clean once every one or two months is perfectly fine. Obviously, the device should always be unplugged while cleaning unless the instructions state otherwise. There are several parts to the Waterpik. The reservoir where the water is held, the base with the control panel on, and the flosser connection, and the flosser itself. The flossing tip should be replaced every three to five months.
A Quick Way to Clean a Waterpik in Under 5 Minutes
When it comes to thoroughly cleaning the Waterpik device, it’s vital that you don’t use abrasive force or products on it. This will limit its longevity and cause it to weaken.
The easiest way to clean the water reservoir is to put it through the dishwasher. This is, of course, optional. However, if you do this, you must remove the valve first. The valve will need to be cleaned by hand with warm water. It doesn’t need a thorough clean as it doesn’t really attract any grime. Once the reservoir is removed, turn on the flosser for about 30 seconds to release any remaining water from the tube. Following that, wipe the surface with a dry cloth and place the flosser at an angle so that it can air dry. After wiping all areas and washing the reservoir, allow time for drying before putting it back together. This cleaning practice is suitable to perform once a week.
Deep Cleaning a Waterpik
Start by emptying the reservoir and swishing it out with water. Fill the reservoir back up with warm water and add two to five tablespoons of white vinegar. The diluted vinegar will kill any active bacteria. Turn on the Waterpik so that the vinegar solution can work its way through the tubes. Keep it on until about half of the solution has been used. After that, turn the device off and remove the tip so that the remaining solution starts to trickle through the handle. While waiting for the rest of the solution to drain, place the tip in a clean bowl of water. The vinegar used in the solution will not only kill the bacteria but will also remove mineral build-up which is caused by hard water. Once the mixture has drained, rinse the reservoir with warm water and then fill it back up. Put the Waterpik back together and turn the device on to run the clean, warm water through the tubes. All that’s left to do now is to empty the remaining water and fill it back up ready for use. If you do not have white vinegar, you can always use a mouthwash solution. Fill half of the reservoir with water and the other half with mouthwash. A deep clean of the Waterpik should be done everyone to three months.
What NOT to Do or Use
The most obvious no-no is that you should never submerge the base into the water. We all know by now that water and electric do not mix. There shouldn’t really be much dirt on the base anyway, so a quick wipe with a cloth and warm water will do perfectly. As we stated above, abrasive materials and concentrated liquids shouldn’t be used when cleaning the Waterpik. Bleach is a prime example of what not to use as is salt, baking soda, and essential oils. These can all damage the Waterpik and will prevent it from working properly. When cleaning the reservoir and tip use a soft cloth instead of a scour or a rough pad.
There are, of course, several models of Waterpiks available. Depending on which one you have you may be looking at all this slightly confused. Essentially, there will be the Waterpik, or flosser as it is also known, the water container, and the base which it all connects too. The cleaning of the Waterpik should be done religiously, but it doesn’t need to be done that often. The condition of the water where you live will probably impact how often it needs cleaning.

